Prepare the Surface
Before you begin stucco application to any surface, including a cinder block wall, it’s necessary to prepare the surface for the application. You can begin by cleaning the wall and ensuring that you have removed any dirt, debris, and loose mortar from the cinder block surface. Use a wire brush or pressure washer for thorough cleaning, and after cleaning, wait at least 24 hours to ensure the surface is completely dry before moving on to stucco application. Repair any damage to the walls before applying any stucco to the cinder block. Patch any cracks, holes, or voids in the cinder blocks with masonry repair products. Similar to the cleaning process, it’s important to allow these repairs to dry completely before proceeding.
Install Screed
In order to maintain an even thickness of stucco throughout the application process, you’ll need to install a screed atop the surface of your cinder block. You can begin by attaching screed guides to the cinder block. These metal screed guides will be placed at the top and bottom of the wall and will serve as a reference for the stucco thickness. You can then nail or screw wooden screed rails to the wall at the desired stucco thickness level, aligning them with the screed guides. These ⅜ inch thick wooden lath pieces should be attached using masonry nails, and they will guide the straightedge that is used to level the surface later in the installation process.
Dampen the Wall
Stucco is best applied to a damp wall, so it is necessary to moisten the wall prior to application. Lightly dampen the cinder block wall with water, usually using a hose on the mist setting to dampen the wall but not saturate it. Dampening prevents the wall from absorbing too much moisture from the stucco mix, which can weaken the bond.
Mix the Base Coat
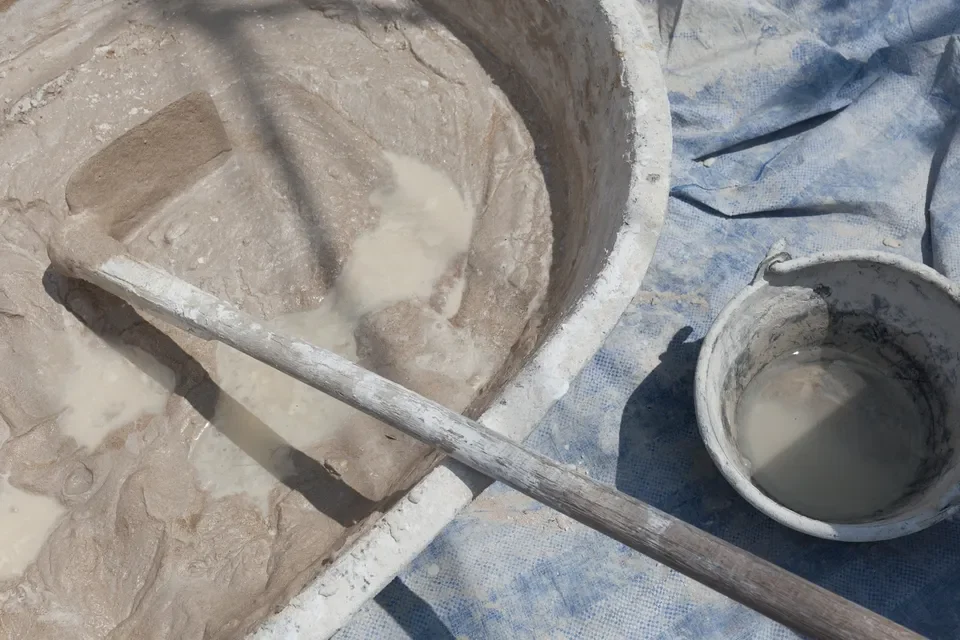
You can then begin mixing your materials, starting with the base coat. The base coat, also known as the scratch coat, is the first layer of stucco. You can start by selecting a quality stucco mix that is suitable for your project. Using a 3 to 1 ratio, you can mix 3 units of sand with 1 unit of your stucco mix, followed by water, until the texture resembles that of a thick paste or peanut butter. The size of your project will help determine the best method for mixing. If you are applying stucco to the exterior of your home, the larger project will require tools such as a power mortar mixer, which can be a bit tricky to use and costly to rent. For medium-sized projects, you can use a wheelbarrow and hoe to mix, which can be time-consuming due to the manual mixing process. Smaller projects can use the drill and bucket method, using a drill paddle attachment as the mixing device. Whatever method you choose, ensure the materials are fully mixed to a thick paste, as the mixture of your materials will affect the quality of your stucco.
Apply Base Coat to Wall
Once you have mixed your base coat and determined it has the proper texture, you can begin to apply the base coat. Using a hawk or towel, you can scoop the stucco onto the tool and hold the trowel at a 45-degree angle to the wall, reducing it to a 30-degree angle as you apply the stucco in a sweeping motion down the wall. Apply enough pressure to force the stucco material into the surface of the wall. On vertical surfaces, it may be easier to work from bottom to top. The base coat should be applied at around ⅜ inches thick across the entirety of the wall. Once the base coat is applied, it may be necessary to key the surface. Use a scarifier or a scratcher to create horizontal grooves or scratches in the base coat. This provides better adhesion for the next layer.
After applying the base coat, it’s important to level the surface and ensure a constant thickness of the stucco on your wall. While the base coat is still wet, use a straight edge, like a darby or a straight-edged board, to level the surface and achieve a consistent thickness. Ensure that the stucco stays level with the screed guides installed earlier, which should be around ⅜ inches thick.
Remove Screed
After leveling the base coat, it’s time to remove the screed guides and rails. Carefully take off the wooden screed rails using a nail puller and hammer, avoiding any disturbance of the stucco as much as possible. The stucco should remain level with the previously established thickness.
Float the Surface
After the surface sheen has disappeared from the base coat but before the stucco has hardened too much to where it won’t be able to be worked with, it is necessary to go over the surface of the stucco with a wooden or foam mason’s float in a swirling motion. This helps consolidate the stucco and reduce ant shrinkage or cracking that may occur while the base coat cures.
Mix the Finish Coat
The next day, after application and floating the surface, the finishing coat of stucco can be mixed and applied. You should choose the finishing stucco mix that suits your desired texture and appearance. Similar to the mixing of the base coat, you can mix the finishing coat according to the manufacturer’s instructions, ensuring you are using the proper materials and proper ratios to guarantee a quality product.
Apply Finish Coat to Wall
Spread the finish coat evenly over the cured base coat using a trowel or a float. This coat is typically only ⅛ to ¼ inches thick, so screeds will not be necessary. Follow a similar process to applying the base coat, using a trowel at a 45 degree angle and reducing to a 30 degree angle as you apply. Apply a good amount of pressure to ensure the finishing coat is securely applied to the base coat.
Texture the Surface
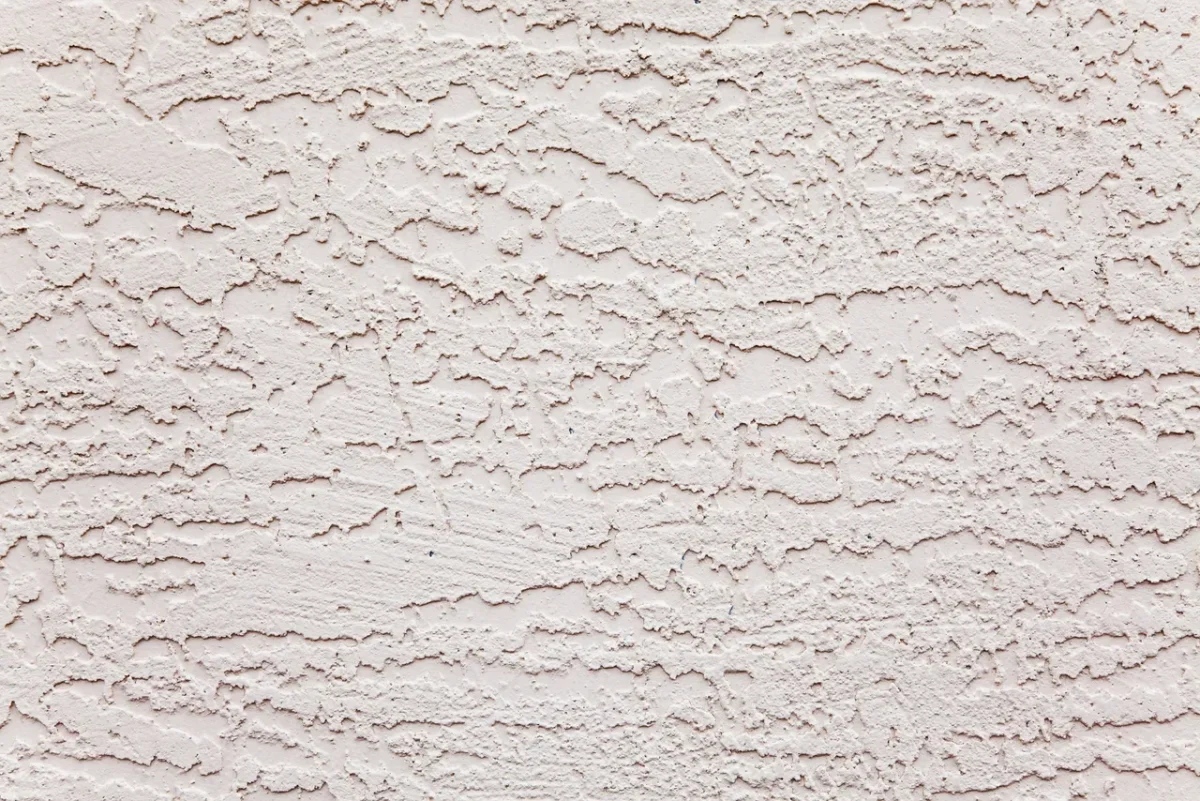
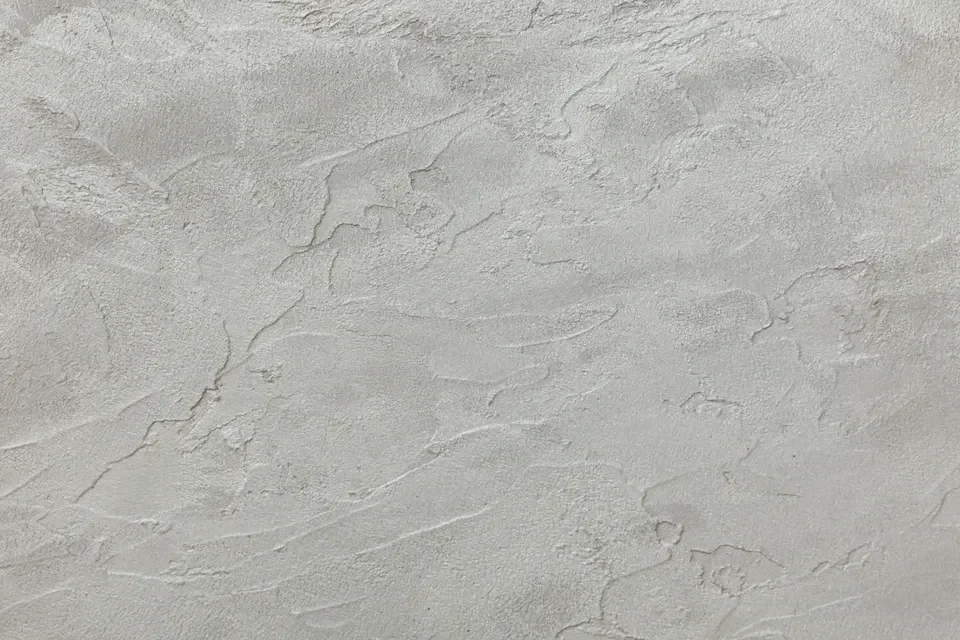
The unique look that stucco offers to homeowners is the textural intrigue that can be applied to the surface of their stucco siding. To achieve the desired texture on your stucco siding, you can begin by using a float, sponge, or trowel to create the textured look on top of the finish coat you’ve applied to your wall. This texture can be smooth, rough, or any other decorative finish you desire. Dozens of textures are possible, using different tools and techniques. Allow the stucco to cure and protect it from drying too quickly by lightly misting it with water several times a day for a few days.
Stuccoing a cinder block wall can enhance its appearance and provide added protection. Following these steps and guidelines will help you achieve a beautiful and durable stucco finish on your cinder block wall, but it can be a trick, especially for beginners. If you have questions or prefer to leave this application process to a team of professionals, contact the team at Titan Stucco today to learn more about how we can serve your stucco needs.


